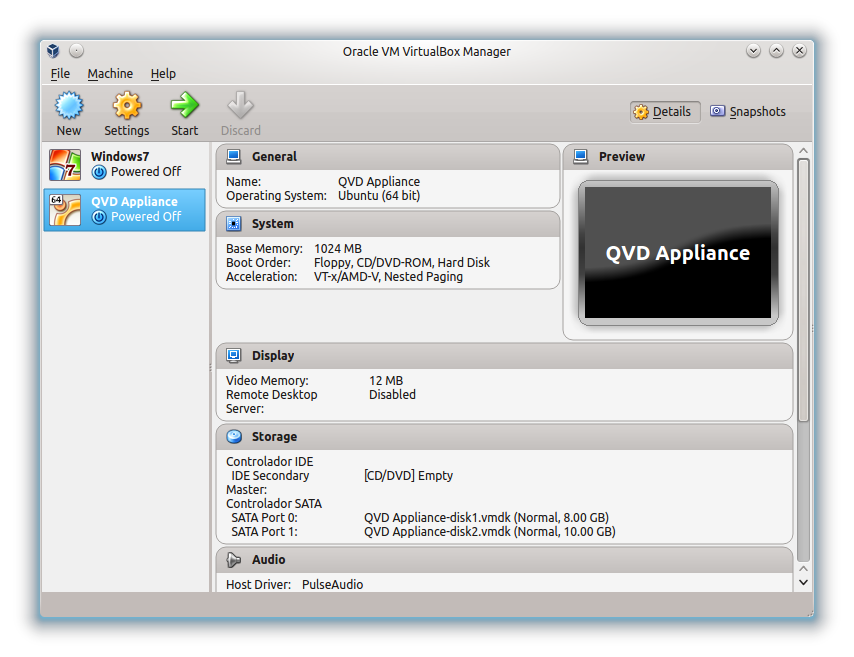
Following on from part one of our QVD appliance series, we move on to demonstrating the new disk image management in QVD 3.1. As mentioned in part one, QVD needs three ports to be available on your local machine, so if you do happen to have anything running on ports 2222 (ssh to the appliance), 3000 (the web administration tool), or 8443 (QVD’s Layer 7 Router service), identify those and shut them down. It’s probably best that you have at least 4GB of RAM on your testing machine to ensure you don’t take a performance hit hosting a VM inside your current session. Open up VirtualBox, select the QVD Appliance listing and click “Start”.
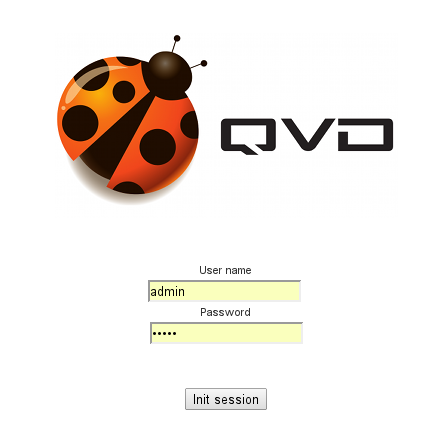
This will start up the QVD virtual machine, preconfigured with QVD 3.1 and after a while you will be presented with the command line login to your new machine. You could log in at this point, but it’s probably going to be easier working from within the host machine, either over ssh or using the web administration tool, so minimise this screen and open up your web browser and point it to http://localhost:3000 which will offer up the web administration login screen.
The credentials for the demo appliance are admin and admin, so go ahead and log in. That will take you to main screen of the web administration tool. Select the OS flavours link in the navigation. Here you will see that we already have one predefined OS Flavour, or OSF. Here you can easily add or delete new Flavours for your users. Since the existing Flavour hasn’t allocated any persistent storage, let’s add one that does. Select New and supply a name (we’ll use demo2 for purposes of this tutorial), allocate 512 MB of RAM, and in user space, let’s give the user 1GB of RAM, so we add 1024 MB in the User Space field and select Create. Now you will see that you can have several distinct environments using the same base disk image with a minimum of overhead.
Let’s drop into the command line to see how we can achieve the same thing there. Use ssh (password qvd) to your localhost, port 2222 (as explained in part one):
$ ssh -p 2222 qvd@localhost
The QVD admin tool can be found in the directory /usr/lib/qvd/bin and indeed, you may wish to add this to your path if you plan to do extensive work with QVD. For convenience, however, we’ve created a link to the admin tool in /usr/bin called qa which is what we will use from here.
For the sake of simplicity, sudo -s to root to be able to log to /var/log and then, list the OSF table thusly:
# qa osf list
DAEMON_NAME is <undef> at /usr/lib/qvd/lib/perl5/site_perl/5.14.2/QVD/Log.pm line 12.
logging to /var/log/qvd/qvd.log
Id Name RAM Overlay UserHD
---------------------------
3 demo 512 yes -
4 demo2 512 yes 1024
To add an OSF in the terminal we could have used this command instead:
# qa osf add name=demo2 memory=512 use_overlay=y user_storage_size=1024
Let’s have a quick look at the disk images. The appliance has one pre-loaded.
Similarly, if we wish to list the disk images on the command line we can do so with ease:
# qa di list
DAEMON_NAME is <undef> at /usr/lib/qvd/lib/perl5/site_perl/5.14.2/QVD/Log.pm line 12.
logging to /var/log/qvd/qvd.log
Id OSF Version Path Tags
--------------------------------------------------------------------------------------
5 3 2012-09-14-000 5-ubuntu-12.04-desktop.i386.tar.gz 2012-09-14-000, default, head
We need to add a new disk image for the accounts users, and link that disk image to this new OSF. Obtaining a disk image can either be done by downloading one from our downloads page or creating your own disk image if you need more than our basic example. To access the disk image in the WAT, it needs to be available in the /var/lib/qvd/storage/staging/ folder, so if you download the image, be sure to move it there. For the purposes of this post, we will simply reuse the disk image that is already available inside the appliance, making it available by copying it, on the CLI, to the staging folder:
# cp -v /var/lib/qvd/storage/images/5-ubuntu-12.04-desktop.i386.tar.gz /var/lib/qvd/storage/staging/ubuntu-12.04-desktop.i386.tar.gz
We uncovered a small bug in the appliance, which is that we need the /var/lib/qvd/storage/images folder to be writable by the apache user. We’ll fix that as soon as we can, meantime the problem is easily worked around. As root, issue the following command:
# chown -R www-data /var/lib/qvd/storage/images/
# chown -R www-data /var/lib/qvd/storage/staging/
Back in the WAT, go to the Disk Images tab and select New. Select the new OSF, demo2, and you will see the image file is now showing in the second section, so select that too and click Create. Also, since space is tight, select to delete the image afterwards. That done, you should now have your new DI, linked to the new OSF.
If you prefer to work on the command line, adding the DI would entail the following command:
# qa di add path=/var/lib/qvd/storage/images/5-ubuntu-12.04-desktop.i386.tar.gz osf_id=4
After that, remove the base image (space is tight!):
# rm -v /var/lib/qvd/storage/staging/ubuntu-12.04-desktop.i386.tar.gz
Now let’s go into the Users tab.
Here we see that we have two users already added into the database. If we wanted to list those on the command line, we simply invoke the qa user list:
# qa user list
DAEMON_NAME is <undef> at /usr/lib/qvd/lib/perl5/site_perl/5.14.2/QVD/Log.pm line 12.
logging to /var/log/qvd/qvd.log
Id Login
--------
1 demo
2 salva
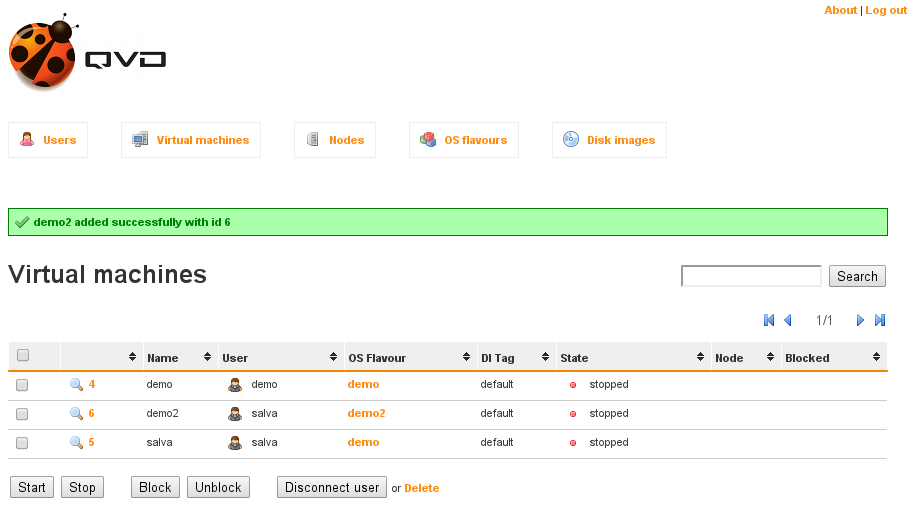
Let’s say we wish to add a VM for the second user, salva. This VM will use the new OSF we created, demo2, giving the user the persistent disk space. Click the user’s id and the New Virtual Machine which will take you into the page for that. Enter a name for your new VM, demo2 will do for now, and select the new OSF. This will automatically add the VM and take you back to the VM listing.
Listing the virtual machines on the command line:
# qa vm list
DAEMON_NAME is <undef> at /usr/lib/qvd/lib/perl5/site_perl/5.14.2/QVD/Log.pm line 12.
logging to /var/log/qvd/qvd.log
Id Name User Ip OSF DI_Tag DI Host State UserState Blocked
---------------------------------------------------------------------------------------------
 4 demo demo 10.3.15.254 demo default 2012-09-14-000 qvd-host running connected 0
 5 salva salva 10.3.15.253 demo default 2012-09-14-000 - stopped disconnected 0
And if we wanted to add a new VM on the command line instead of the WAT:
# qa vm add name=demo2 osf=demo2 user=salva
And listed:
# qa vm list
 DAEMON_NAME is <undef> at /usr/lib/qvd/lib/perl5/site_perl/5.14.2/QVD/Log.pm line 12.
 logging to /var/log/qvd/qvd.log
 Id Name User Ip OSF DI_Tag DI Host State UserState Blocked
 --------------------------------------------------------------------------------------------
 4 demo demo 10.3.15.254 demo default 2012-09-14-000 - stopped disconnected 0
 5 salva salva 10.3.15.253 demo default 2012-09-14-000 - stopped disconnected 0
 6 demo2 salva 10.3.15.252 demo2 default 2012-10-19-000 - stopped disconnected 0
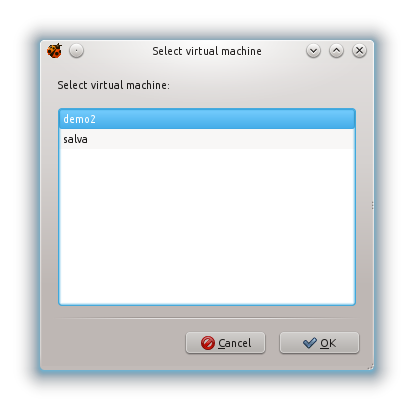
So Salva now has a secondry VM that provides him with persistent storage, as well as access to the original demo VM. It’s important to recognise that users may have more than one role and thus more than one VM. This is nicely illustrated when we start up the qvd client and enter Salva’s credentials (password the same as username)


